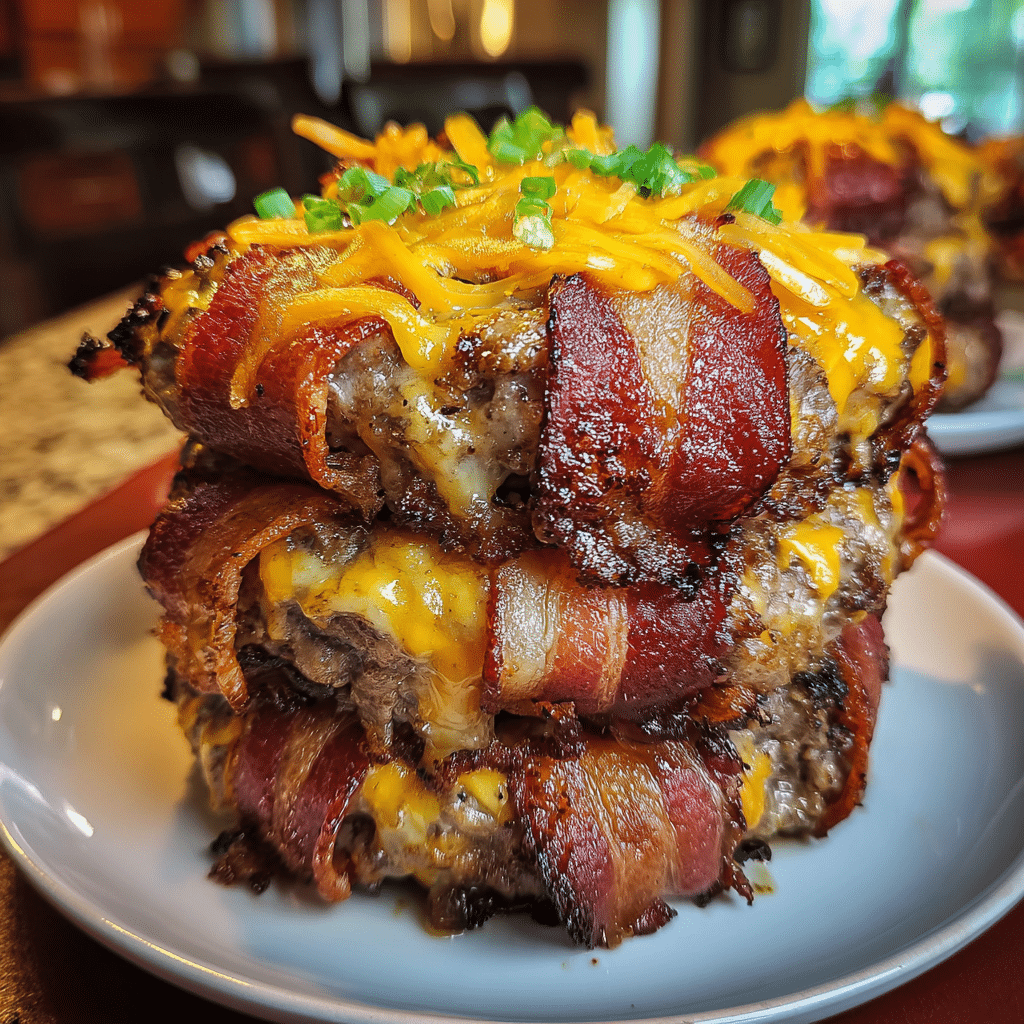
I built this stacked centerpiece to satisfy my carnivore cravings with crisp bacon, molten cheese, and juicy beef in a bold, attention-grabbing presentation.
I use a simple, repeatable method and everyday grocery items so you can get restaurant-quality results at home without fuss. My approach locks in moisture and yields clean slices for serving and leftovers.
You’ll learn why I layer protein and cheese the way I do, which tools I rely on, and how I balance crunch with juiciness. I preview clear time and temperature cues so you know exactly what “done” looks like before you start.
This build scales for weeknight dinners or weekend entertaining. It’s forgiving — follow my wrapping and internal temperature cues and you’ll nail texture even on your first try. I also show plating options from rustic boards to neat portions.
For a full how-to and variations, see my linked recipe guide to get started with confidence.
Key Takeaways
- Simple method: Everyday ingredients, basic tools.
- Texture focus: Crunchy bacon, moist interior.
- Clear cues: Time and temperature make the result repeatable.
- Stable build: Layering locks in moisture and cleans slices.
- Scales easily: Works for weeknights or entertaining.
Why I Created This Carnivore Showstopper
I wanted a centerpiece that puts meat-forward flavor first while keeping the method simple for busy nights.
My focus was consistency: an oven-first process at 350°F gives predictable results. If I need speed, a countertop air fryer at 350°F for 20–25 minutes (turning once) crisps fast.
I built the dish to hit a clear texture and taste profile: crisp bacon outside, a juicy interior, and a molten cheese core that adds body without masking the meat.
Keto-friendly and low in sugar: the recipe emphasizes protein and fat and avoids hidden fillers. I also made the technique flexible so you can finish on a grill after 30 minutes for smoke or use a smoker at 275°F for about 45 minutes when I want a deeper smoke ring.
- Rack-over-pan and a quality thermometer ensure even cooking and retained juiciness.
- Seasoning stays short to let the meat taste shine and to make scaling and meal prep easy.
| Method | Temp | Time | Notes |
|---|---|---|---|
| Oven | 350°F | 30–45 min (depending on size) | Reliable, steady throughput; use rack over pan |
| Air Fryer | 350°F | 20–25 min, turn halfway | Faster crisp; monitor for even browning |
| Grill Finish | Medium-high | 5–10 min | Adds smoke and extra crisp after baking |
| Smoker | 275°F | ~45 min | Deeper smoke ring and flavor; allow more time |
Bacon-Wrapped Cheesy Carnivore Tower: Ingredients, Tools, and Flavor Profile
I keep the ingredient list tight so every item adds clear texture or flavor. Below I outline the core items I use, the gear that makes results repeatable, and the eating profile I aim for.
My Carnivore-Friendly Ingredients List
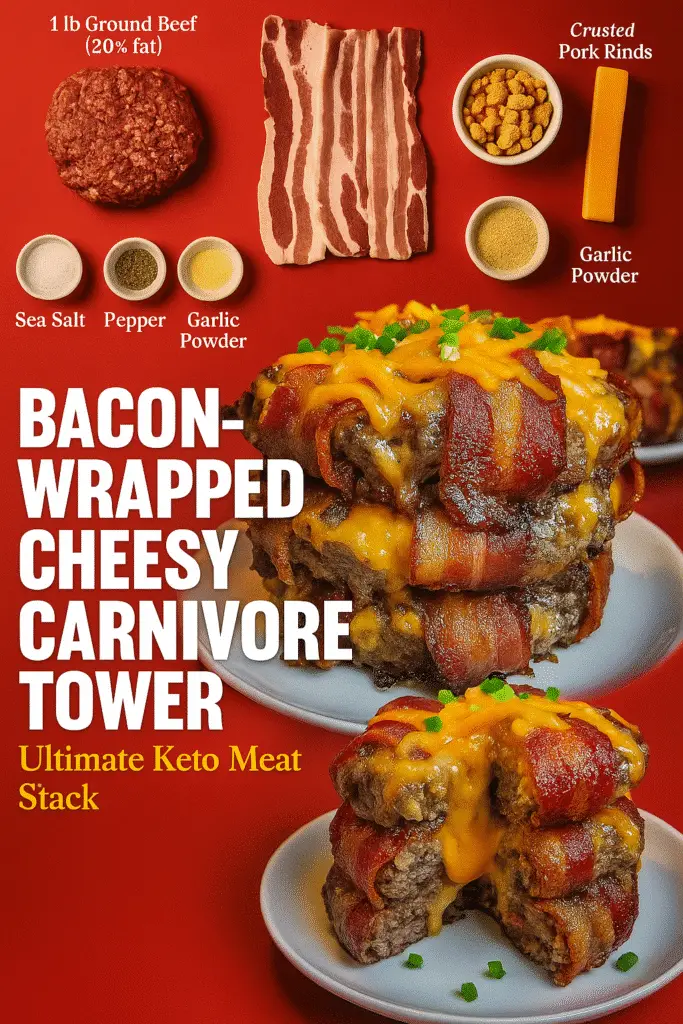
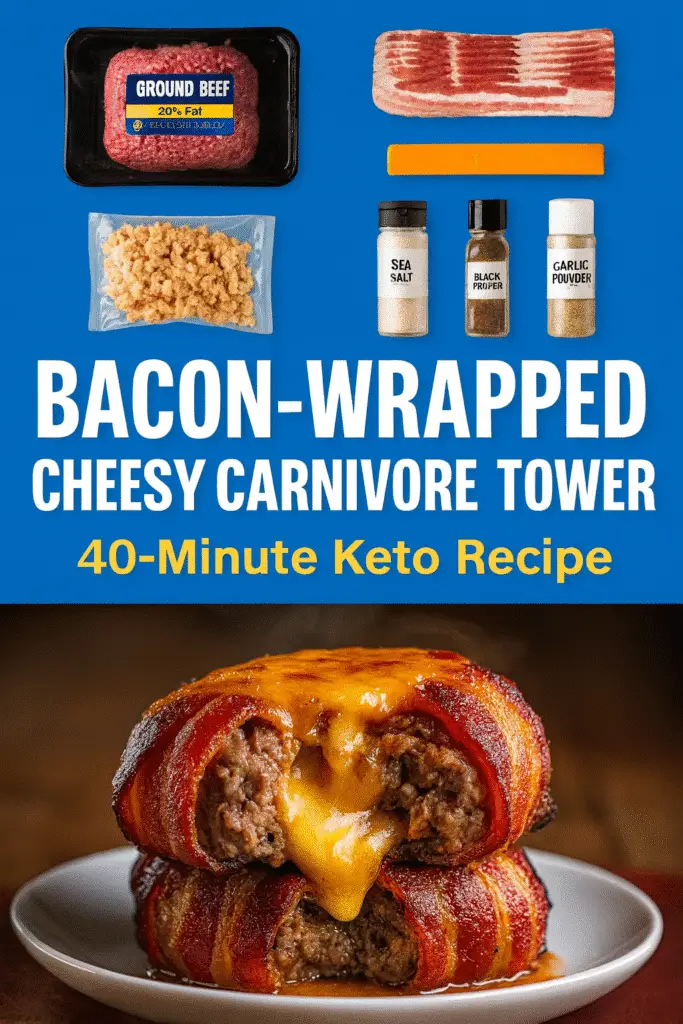
I start with 1 lb ground beef at about 20% fat for built-in juiciness. I pair that with 12 slices of bacon to wrap the build completely.
I often add 2 eggs and about 1 cup finely crushed pork rinds when I want a crunchy coating. For a molten center, I insert a firm stick of cheese — cheddar or mozzarella work best.
My seasoning stays simple: unrefined sea salt, optional black pepper, and a pinch of garlic powder. I avoid added sugar to keep the profile keto-aligned.
Simple Gear: Oven Setup, Rack, and Thermometer
Must-haves: a reliable oven, a sturdy wire rack set over a sheet pan, parchment for easy cleanup, and a fast instant-read thermometer.
I bake at 350°F on the rack until golden and juices run clear — usually around 40 minutes — then rest briefly before slicing.
Flavor & Macros: High-Protein, High-Fat, Sugar-Free
The result centers on protein and fat with no added sugar. Salt-forward seasoning supports the meat and bacon without masking the cheese.
- Protein source: ground beef and bacon.
- Fat: bacon and beef render for flavor and mouthfeel.
- Keto-friendly: no starches, no added sugar.
For more ideas and a related riff on stuffed builds, see my stuffed tater tot cones.
Step-by-Step: Building, Baking, and Finishing the Tower
This section walks you through shaping the base, the oven bake, and the quick finish options I use to get consistent results. I keep steps tight so you can repeat the recipe without guesswork.
Build the Base: Beef, Cheese Core, and Bacon Wrap
I form a tight beef cylinder and slide a centered cheese stick into the middle. Then I wrap the meat fully with overlapping strips so the seam sits on the rack side for stability.
I match the number of slices bacon to the circumference so the cheese stays contained as the bacon renders. After wrapping, I season lightly with salt and a whisper of garlic or black pepper if desired.
Oven Baking Time and Heat: Golden, Crispy, Juicy Results
I bake on a rack over a pan at 350°F for about 40 minutes. Look for golden exterior and clear juices, then rest 5 minutes before slicing. I always confirm doneness with a quality thermometer for repeatable cooking.
Air Fryer and Grill Finish Options for Extra Crisp and Smoke
For faster crisp, air fry at 350°F for 20–25 minutes, turning once. For smoke and char, I bake ~30 minutes, then move to a medium grill for a few more minutes.
Seasoning & Texture Variations to Match Your Taste
For a craggy crust, I beat an egg and press about 1 cup crushed pork rinds onto the outside before baking. Keep seasoning simple—mainly salt—so the meat, bacon, and cheese shine.
| Method | Heat | Minutes |
|---|---|---|
| Oven (rack) | 350°F | ~40 |
| Air Fryer | 350°F | 20–25 |
| Smoker | 275°F | ~45 |
Conclusion
Conclusion
You can get restaurant-style results in about 40 minutes by using my rack-over-pan oven method at 350°F and confirming doneness with a thermometer. A brief 5-minute rest improves juices and makes clean slices for serving.
Finish options let you tune texture: air fry at 350°F for 20–25 minutes, grill after ~30 minutes for smoke, or use a smoker at 275°F for roughly 45 minutes. Keep seasoning simple—salt and a whisper of garlic—so the meat and cheese stay front and center.
This recipe fits a keto-leaning, high-protein profile and uses everyday ingredients and straightforward steps. Try it this week—whether you’re cooking for yourself or a crowd—and keep a small cup of finishing salt on the side so guests can adjust taste at the table.
Thanks for cooking along; revisit the steps anytime you want dramatic flavor with minimal guesswork.
FAQ
What cuts of beef work best for my bacon-wrapped, cheesy meat stack?
I prefer ground chuck or a blend with brisket for a rich, beefy base. These cuts give good fat content so the stack stays juicy and holds its shape under the cheese and bacon. If I want a leaner option I use 90/10 ground beef but add a tablespoon of cream or a little pork fat to keep moisture.
How many minutes should I bake the stack to get crispy bacon and melted cheese?
I bake at 375°F for about 25–35 minutes, depending on size. I aim for an internal temperature of 160°F for ground beef. If the bacon isn’t crisp enough I finish under the broiler for 1–3 minutes, watching closely to avoid burning.
Can I make this recipe keto and sugar-free?
Yes—I keep it keto by using full-fat cheese, bacon without sugar, and no breadcrumbs. I season with salt, pepper, garlic powder, and smoked paprika. The dish is high-protein, high-fat, and virtually carb-free when I skip any sweet marinades.
Is it safe to use cream in a meat filling, and how much should I add?
I use up to 1/4 cup of heavy cream per pound of meat to enrich texture and help bind the filling. It adds fat and silkiness without affecting the cook time. Make sure to mix gently so the filling stays tender.
What are the best finish options besides the oven?
I like finishing on a hot grill for smoky notes, searing each side 1–2 minutes to deepen color. An air fryer works well for extra crispness—I use 400°F for 5–8 minutes. Both methods reduce oven time and add texture.
How do I prevent the bacon from shrinking and pulling away from the meat?
I partially cook bacon for 2–3 minutes in the microwave or skillet to render some fat and reduce shrinkage. I also overlap slices slightly and secure them with toothpicks if needed. Chilling the assembled stack 15–20 minutes before cooking helps maintain shape.
What seasoning combos do you recommend for different taste profiles?
For classic flavor I use salt, black pepper, and garlic powder. For smoky depth I add smoked paprika and a pinch of cayenne. If I want a more herb-forward option I stir in finely chopped thyme or rosemary. I avoid sugar-based rubs to keep it keto-friendly.
Can I prepare these ahead and reheat without losing quality?
I assemble ahead and refrigerate up to 24 hours; I then bake directly from cold, adding a few minutes. For cooked leftovers I reheat in a 350°F oven for 10–12 minutes or use an air fryer at 350°F for 5–7 minutes to preserve crispness.
How many servings does one assembled stack yield and what side do you recommend?
A single large stack usually serves 2–3 people as a main. I serve mine with a simple side like steamed greens or a butter-sauteed mushroom medley to balance the richness. On keto menus I choose hearty, low-carb vegetables.
Are there allergy considerations or brand suggestions for ingredients?
I check bacon labels for added sugar or maple glaze; brands like Applegate or Oscar Mayer have sugar-free options. For cheese I prefer real cheddar or mozzarella—avoid processed slices if you want clean ingredients. If you have dairy allergies, omit cream and use an extra egg to bind the meat.
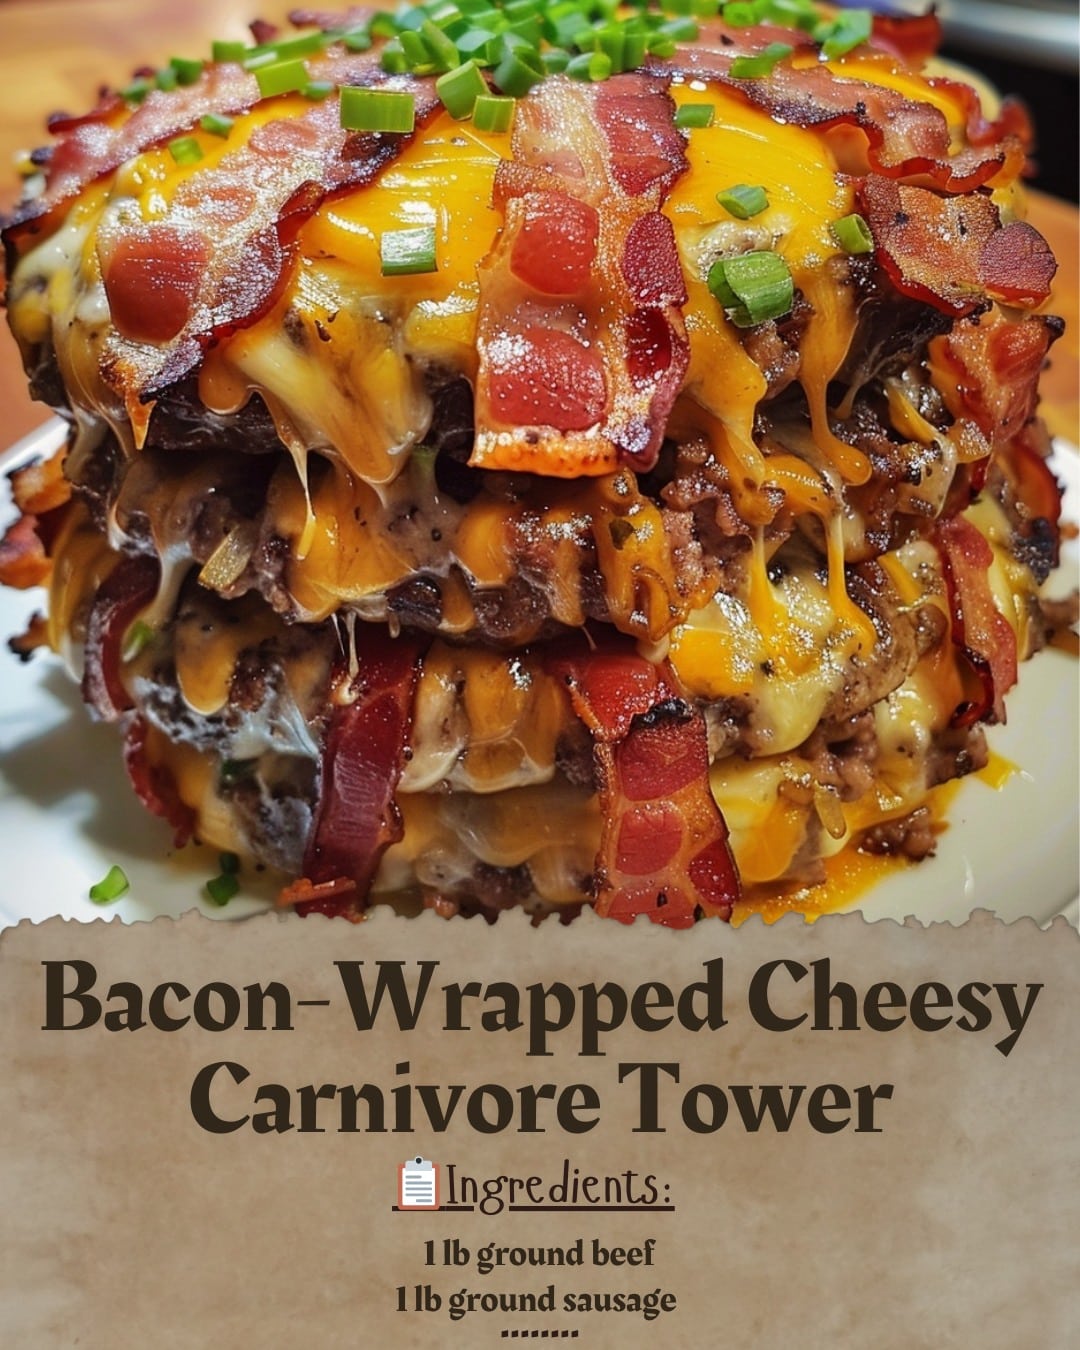
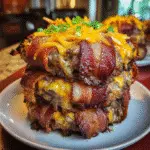
My Bacon-Wrapped Cheesy Carnivore Tower: A Meat Lover’s Delight
- Total Time: 55
- Yield: 3 1x
Description
Bacon-wrapped cheesy carnivore tower with crispy bacon exterior, molten cheese core, and juicy beef interior. Perfect keto-friendly centerpiece that combines restaurant-quality flavors with simple home cooking techniques.
Ingredients
1 lb ground beef (20% fat)
12 slices bacon
1 cheese stick (cheddar or mozzarella)
1 tsp sea salt
1/2 tsp black pepper (optional)
1/2 tsp garlic powder
2 eggs (optional for coating)
1 cup crushed pork rinds (optional for coating)
Instructions
1. Form ground beef into a tight cylinder around the cheese stick, ensuring cheese is centered
2. Wrap bacon slices around beef cylinder, overlapping slightly, with seam on bottom
3. Season exterior lightly with salt, pepper, and garlic powder
4. Place on wire rack over sheet pan lined with parchment
5. Bake at 350°F for 40 minutes until bacon is golden and internal temperature reaches 160°F
6. Rest for 5 minutes before slicing to retain juices
7. Slice into thick rounds and serve immediately
Notes
For faster cooking, use air fryer at 350°F for 20-25 minutes, turning halfway
For smoky flavor, finish on grill after 30 minutes of baking
Can be assembled 24 hours ahead and refrigerated before cooking
Use instant-read thermometer for best results
Keto-friendly and sugar-free recipe
- Prep Time: 15
- Cook Time: 40
- Category: Main Course
- Method: Baking
- Cuisine: American
Nutrition
- Serving Size: 1
- Calories: 485
- Sugar: 0
- Sodium: 890
- Fat: 38
- Saturated Fat: 16
- Unsaturated Fat: 18
- Trans Fat: 0
- Carbohydrates: 2
- Fiber: 0
- Protein: 32
- Cholesterol: 125

