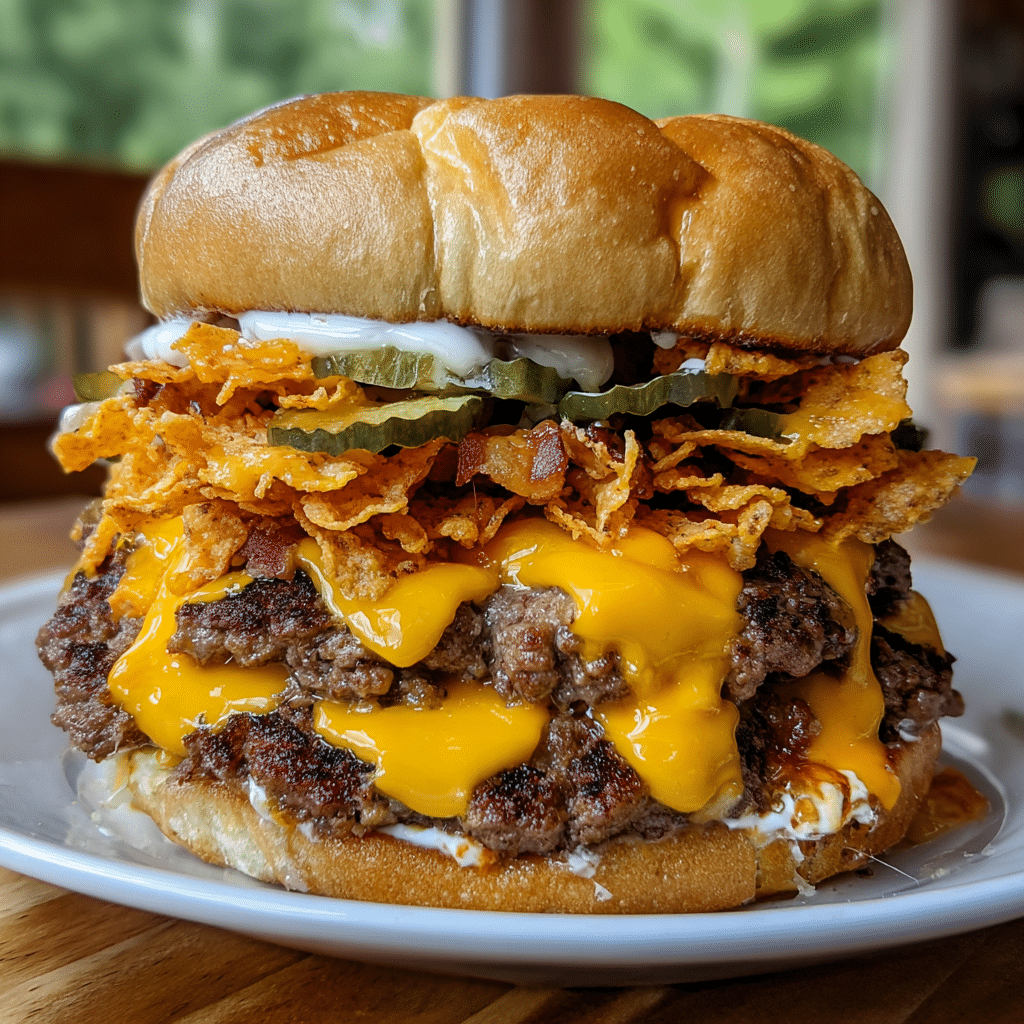
I set out to test this bold sandwich recipe to see how textures and flavors hold up from the griddle to the plate. I worked in a home skillet and a cast-iron griddle, portioning beef into four 4-oz balls, smashing for 1.5–2 minutes, flipping, and melting cheese for even coverage.
I paid close attention to the every bite experience: crust, melt, and how the sauce and pickles cut through the richness. I toasted buns in butter, layered cooked bacon, sliced dill pickles, and spread dressing to replicate the original concept at home.
I also compared the “flood” melt to stacked slices for cleaner assembly and better coverage. Along the way I noted tweaks I’d make—cheese swaps, crisp shallot alternatives, and heat cues that improved browning and juiciness.
Key Takeaways
- Simple ingredients and tight technique yield big crust and flavor.
- Smash timing (1.5–2 min) and high heat are crucial for crisp edges.
- Cheese flood gives better coverage; stacked slices are neater.
- Bacon, pickles, and a creamy dressing balance rich beef.
- Toast buns in butter and follow heat cues for best results.
Why I Had to Try This Smash Burger Right Now
I couldn’t resist testing a method that promises diner-style sear and speed. I wanted to see whether that fast press on a ripping-hot cast-iron or griddle would deliver the crust and texture I chase.
My approach was simple: form 4-oz beef balls, set a pan to high heat, then press immediately and hold for 1.5–2 minutes to build a deep brown crust before flipping and adding cheese.
What “Cheddar Flood” Means in my kitchen
In my kitchen, the flood is an aggressive melt that aims to blanket the patty. I want glossy coverage that drapes the edges without overcooking the meat.
- I was chasing that golden brown crust that locks in juices and amps up browned flavors.
- Testing a griddle-like surface versus a standard skillet showed differences in sear, smoke, and recovery time between presses.
- The flood promised dramatic cheese pull and extra savoriness in every bite, but I weighed that against control and cleanup.
- This quick technique fits weeknights—minimal gear and a sturdy spatula are all you need to make burger magic.
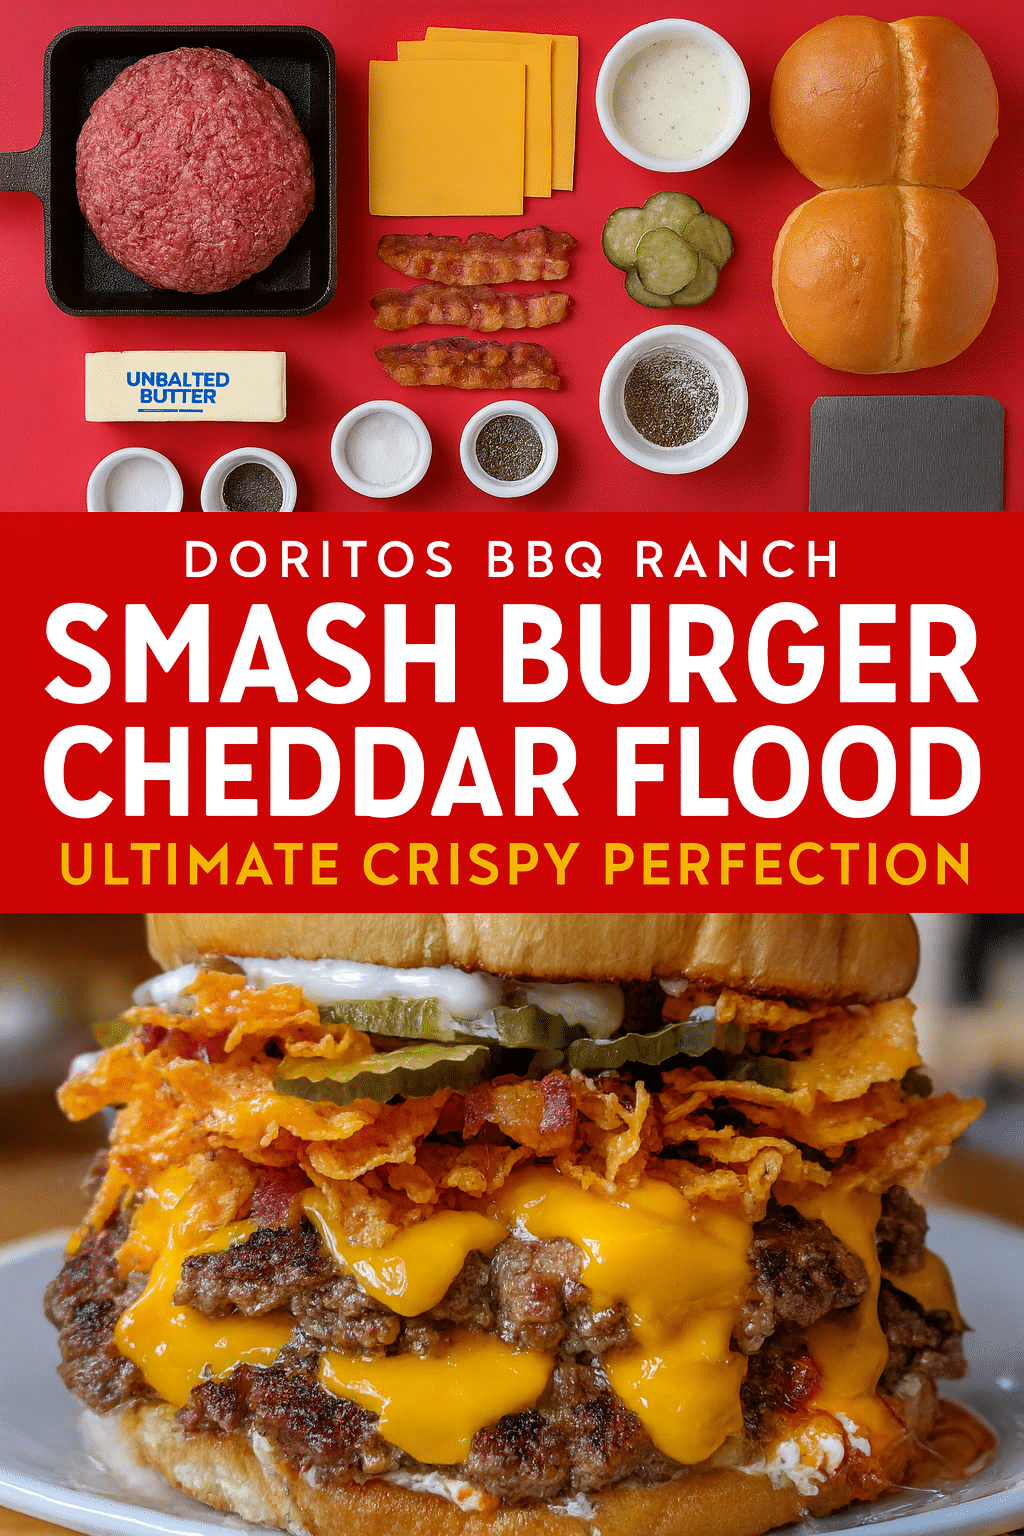
Ultimately, I wanted to judge whether the flood method improves the overall recipe or if a simpler melt hits the same notes. The test answered that in a few fast, smoky rounds.
Ingredients I Used and Why They Work
I started by weighing and arranging the core ingredients to see how simple choices change the final bite. Keeping the list tight lets the meat and cheese shine while toppings add contrast.
Ground beef, salt, and black pepper
For two servings I used 1 lb ground beef, 1/2 tsp kosher salt, and 1/4 tsp freshly ground black pepper. I portion the meat into four 4-ounce balls to form patties later.
Light handling keeps the patties tender and allows a thin sear crust to form when pressed on high heat.
American cheese vs. sharp cheddar for melt and flavor
American cheese melts silky and fast, giving full coverage on each patty. I tested sharp cheddar once; it adds tang and a firmer set if you time the melt right.
Bacon, ranch, and dill pickles
Bacon brings smoky crunch and salt. Dill pickles provide tang and snap. I spread dressing on the bottom bun to add creamy balance—blue cheese dressing is a bolder swap I tried.
Butter-toasted hamburger buns
I butter-toast potato or brioche hamburger buns in unsalted butter until golden. Toasting gives structure and a touch of sweetness so the stack holds up under hot patties and cheese.
- Substitutions: crispy fried shallots for bacon; sharp cheddar once for a tangier melt.
- Keep ingredients minimal so the recipe stays focused and repeatable.
The Gear and Heat: Cast-Iron, Griddle, and High-Heat Smashing
I dialed the stovetop up to blistering heat to force an instant sear and dramatic edges. A smoking-hot cast-iron or griddle is the backbone of this technique.
Why surface temperature matters: when beef hits a ripping-hot pan it browns fast, trapping flavor and creating a lacy crust that contrasts the soft interior.
How I cook
I heat cast-iron or a griddle over high heat until it smokes lightly. I place 4-oz beef balls, then smash them thin to about 1/4 inch and leave them undisturbed for 1.5–2 minutes. That first minute builds the crust; the flip and a quick cheese top finish the patties in roughly one more minute.
- I prefer a wide, sturdy spatula to press and scrape without tearing the crust.
- A griddle gives room to cook multiple burger patties without crowding or losing heat.
- If I don’t have cast-iron, a heavy nonstick works—cook in batches and avoid excess oil so rendered fat does the frying.
| Surface | Best use | Notes |
|---|---|---|
| Cast-iron | Maximum sear | Preheat until smoking; ideal for one or two pans of patties |
| Griddle | Multiple patties | Even heat and space prevent crowding and temp drop |
| Heavy nonstick | Fallback option | Works in batches; avoid overheating beyond manufacturer limits |
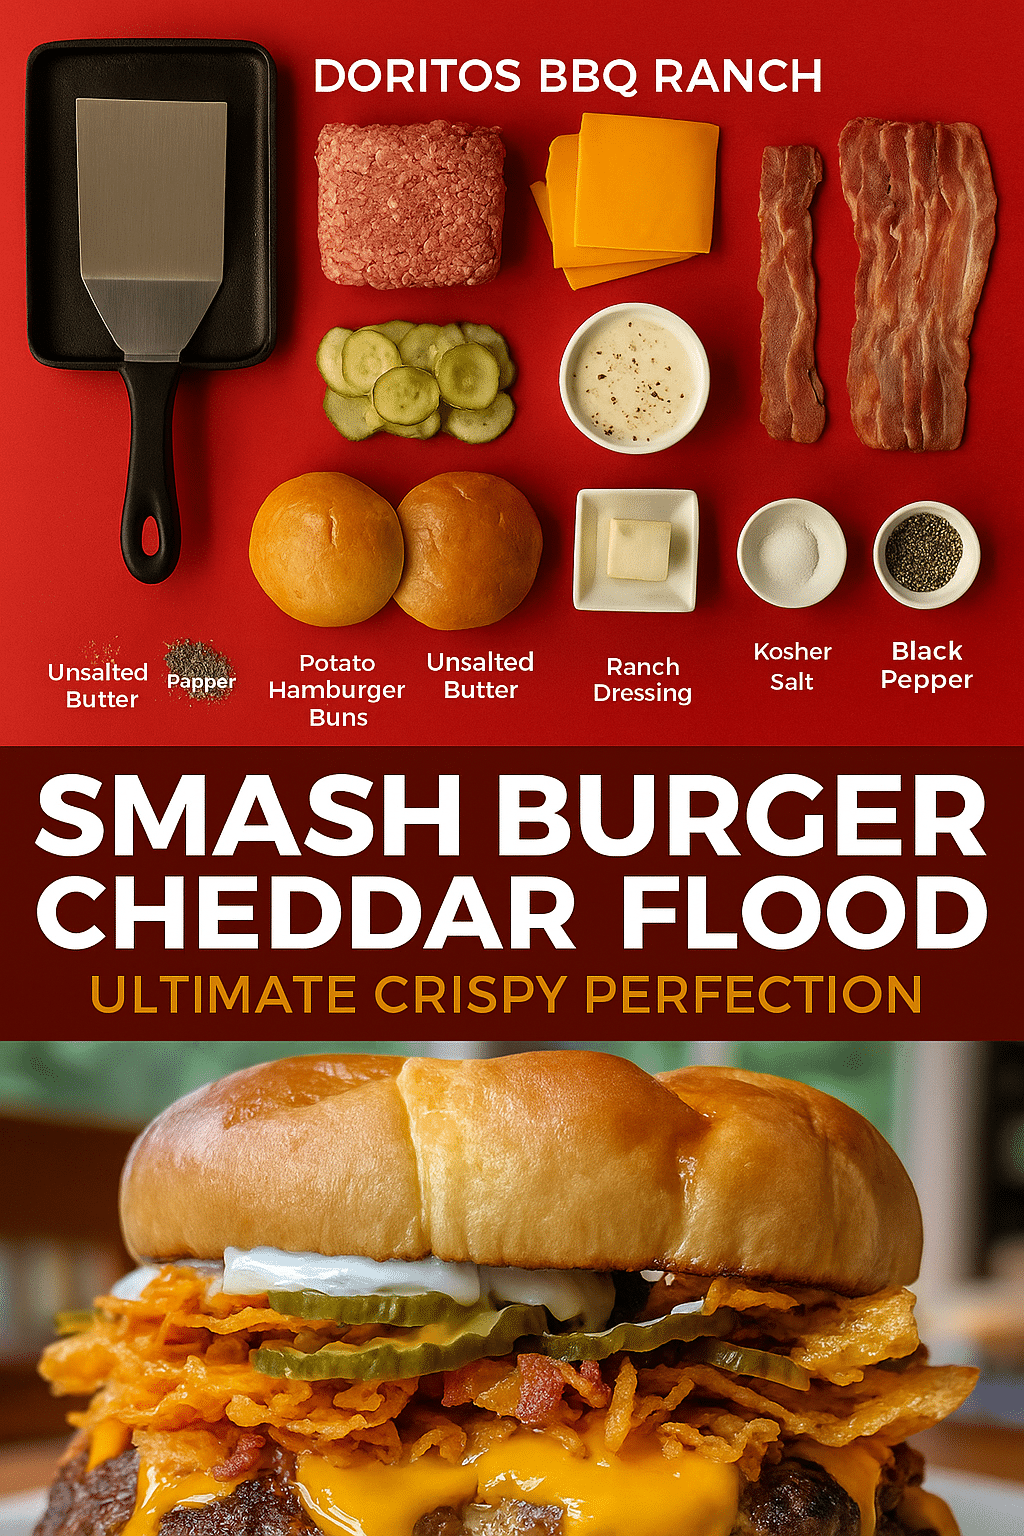
Doritos BBQ Ranch Smash Burger with Cheddar Flood
I follow a tight sequence so each patty hits the pan at peak heat and the stack leaves the griddle sizzling. This keeps timing simple and results reliable every cook.
Prep
I portion four 4-oz beef balls and season each with kosher salt and freshly ground black pepper. I also cook bacon until crisp so it’s ready when the patties are done.
Toast
I butter both cut sides of the buns and toast them on a hot pan until they are uniformly golden brown. Toasting prevents sogginess and adds a buttery crunch.
Smash
On a preheated cast-iron or griddle, I place two beef balls and smash them to about 1/4 inch. Leave undisturbed for ~1.5–2 minutes to form a deep brown crust.
Flip + cheese timing
I flip, immediately top two patties with american cheese, and let it melt for roughly one minute. Repeat for the remaining patties to keep the melt glossy.
Assemble
- Spread sauce on the bottom bun, add a cheese-topped patty, then a second patty.
- Layer two slices of bacon and dill pickles, then cap with the top bun.
- If desired, I add burger patties to build a double stack while keeping the same cook minutes.
| Step | Action | Time |
|---|---|---|
| Smash | Press to 1/4″ | 1.5–2 minutes |
| Melt | Add american cheese after flip | ~1 minute |
| Toast | Butter buns to golden brown | 30–45 seconds per side |
Executing the Cheddar Flood Safely and Deliciously
Timing and control make the difference between a glossy, dramatic topping and a pan covered in burned dairy. I add cheese right after flipping while the patty is still hot so the melt finishes quickly without overcooking the meat.
Slice stack vs. poured melt
I prefer stacked slices when I cook several burgers at once. Stacks give predictable coverage, tidy assembly, and far less cleanup.
For a true pour, I melt grated cheese in a small saucepan until glossy, then carefully heat add the pour directly over the hot patty to avoid flare-ups and splatter.
- Target the diameter: keep the pour to the patty’s width to limit runoff that can burn.
- Pre-warm and pour slowly: pre-warming reduces clumps; a slow pour keeps control.
- Tool tip: a silicone spatula lets you guide edges and nudge the sauce where you want coverage.
I rest assembled patties 1–2 minutes so the cheese sets and juices redistribute. Slices keep structure and speed; the poured approach delivers big dairy richness and a showpiece finish.
| Method | Best for | Cleanup |
|---|---|---|
| Stacked slices | Multiple burgers, precise coverage | Easy |
| Poured melt | One or two plated burgers, dramatic look | Requires deglazing |
| Hybrid | Slice plus small pour at edges | Moderate |
Smart Swaps and Variations I Tested
To make this recipe friendlier for more diners, I tried a set of targeted ingredient swaps. Each change kept the core technique but shifted texture, tang, or dietary fit.
Crispy fried shallots instead of pork
I swap bacon for crispy fried shallots when I need a pork-free crunch. The shallots toast up crisp and add savory depth that mimics fried pork texture. They keep the stack crunchy without adding meat.
Stronger dressing option
When I want sharper tang, I trade the usual ranch for blue cheese dressing. The funk of blue cheese cuts rich beef and melted cheese and brightens pickled toppings on the bun.
Lean turkey build and dairy-free choices
For a lighter take I used 94% lean ground turkey seasoned with sea salt, black pepper, garlic powder, smoked paprika, onion powder, and ground mustard plus a splash of Worcestershire. I press gently so the patty stays intact, then finish in a 375°F oven for 10–15 minutes.
I pair turkey with dairy-free cheddar (Violife or So Delicious) and a quick vegan sauce made from vegan mayo, BBQ sauce, almond milk, dill, cilantro, garlic powder, onion powder, and salt. Gluten-free buns keep the build GF-friendly.
- Why these swaps work: they preserve crunch, savory lift, and creamy balance across proteins.
- Simple toppings like pickles or raw onion keep the seasoned meat and sauce as the focus.
- On grill days I move turkey outdoors for extra char while keeping the same seasoning profile.
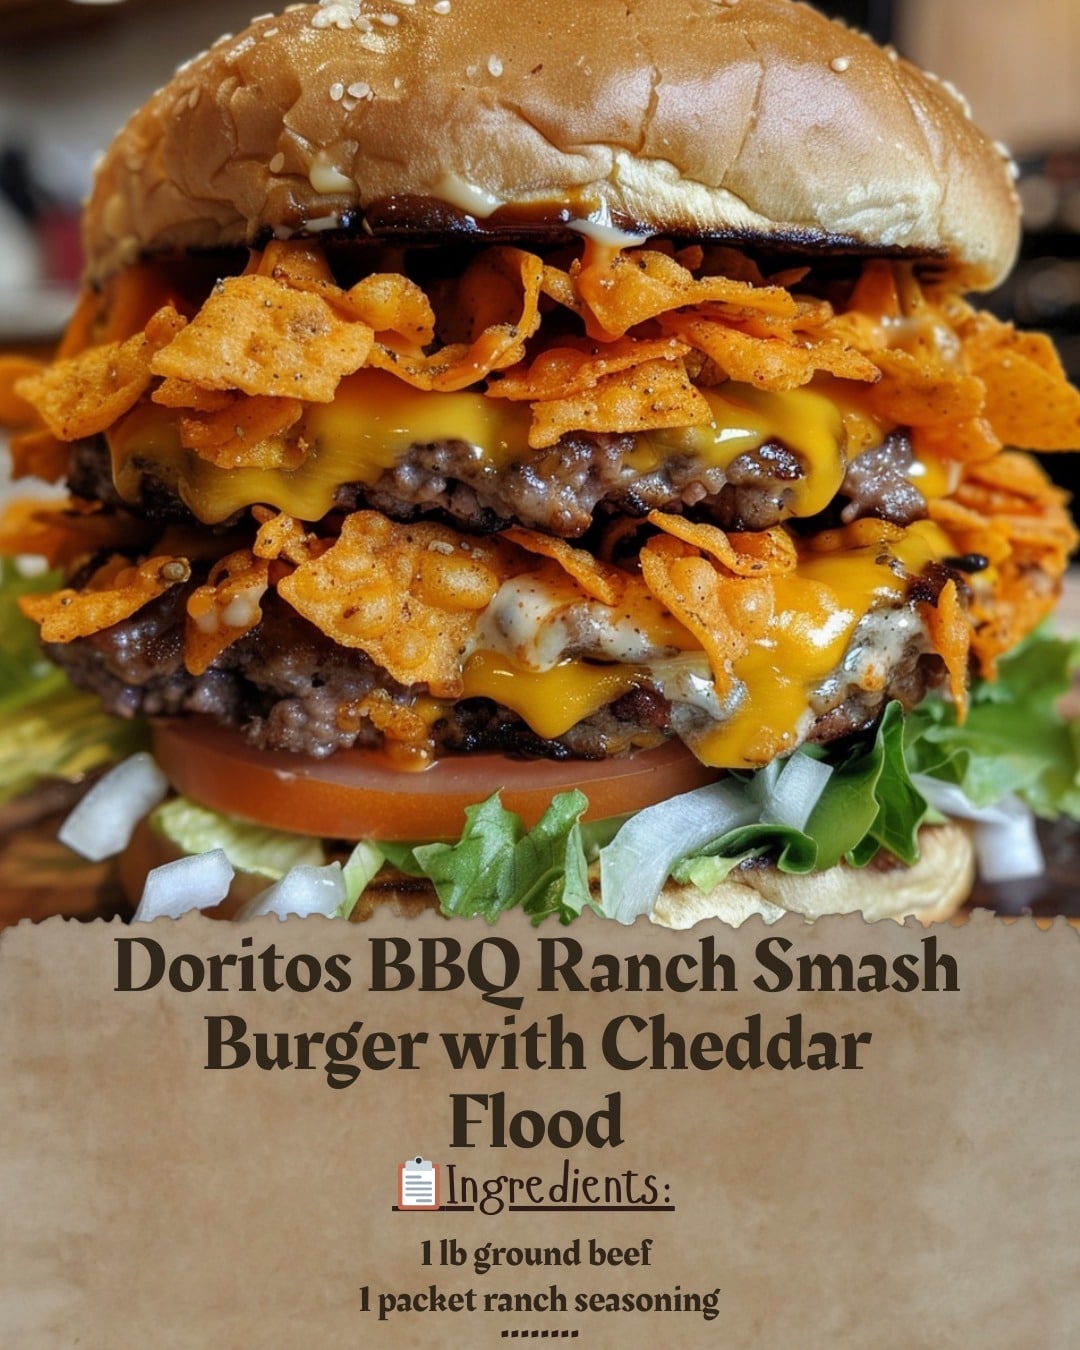
Pro Tips to Nail the Smash Burger Every Time
Consistent results come from a few reliable habits I use on the stovetop and griddle. These small moves keep patties neat, crusted, and juicy without extra fuss.
Double-spatula smash and scraping technique
I press a beef ball the instant it hits the hot surface, then hold for 1.5–2 minutes. I use a second spatula to brace the first while I scrape under the patty. That lets the crust release cleanly in one confident motion.
Rest to lock in juices
After the flip I add cheese and finish the cook, then I let the stack rest 1–2 minutes. Resting keeps juices in the patty so every bite stays moist.
- I chill formed beef balls 10–15 minutes so they hold shape during the smash and flip.
- Cook on a preheated griddle or heavy pan and avoid overcrowding; crowding drops the heat and makes edges steam instead of fry.
- Season lightly; a small dusting of garlic powder is fine but burns quickly at high heat.
- For leftovers, skip the microwave—re-sear patties in a hot skillet about one minute per side to re-crisp the exterior.
| Tip | Why it matters | Quick action |
|---|---|---|
| Double-spatula | Protects crust when scraping | Brace and lift in one move |
| Chill balls | Cleaner smash and flip | 10–15 minutes in fridge |
| Resting | Retains juices | 1–2 minutes before serving |
Serving Ideas, Sides, and Fun Twists
When it comes time to plate, I like to round the main course with easy, crunchy sides and a few bold add-ons. A few smart choices turn a quick stovetop stack into a shareable meal.
Pairings I reach for
For side options I keep it classic: salty kettle chips, a crisp wedge salad, a creamy potato salad studded with peas and red onion, purple cabbage slaw, or a warm German potato salad. Each one balances the rich patty and melted cheese.
Favorite toppings and add-ons
For toppings I reach for dill pickles, a swipe of mustard, sweet caramelized onions, and sliced jalapeños for heat and crunch. I also cook bacon first so the rendered fat flavors other components.
Smash Burger Crunch Wrap riff
My favorite twist is the Crunch Wrap: I fry crinkle cut fries in bacon fat, griddle onions until sweet, then smash mustard-smeared patties and top with American cheese.
I make a quick sauce of mayo, ketchup, mustard, and sweet relish. On an XL tortilla I add the patty, onions, bacon, fries, lettuce, and pickles, fold tight, and griddle seam-side down until golden on both sides.
- If I’m feeding a crowd, I also offer pulled pork sliders for variety.
- These sides and riffs make the burger meal feel complete and shareable.
Nutrition, Storage, and Reheating
I keep nutrition and storage simple so this recipe fits weeknight plans. Below I list the approximate macros I tracked and the storage and reheating steps I use most.
Approximate macros per serving and what impacts them
Double-decker build (beef, bacon, creamy dressing): ~1327 kcal, 88 g protein, 87 g fat, 37 g carbs. Bun choice, cheese type, and sauce portions move these numbers most.
Lean turkey example: ~536 kcal, 27 g protein, 30 g fat, 37 g carbs; sodium around 1143 mg for that version. Switching proteins and dairy lowers calories and saturated fat.
Make-ahead, refrigeration, freezing, and skillet reheat
To make burger sessions easier, I pre-portion and wrap patties individually. Raw patties hold up to 3–5 days refrigerated depending on protein, or 3–4 months frozen.
Cooked beef patties revive best in a hot skillet about one minute per side to restore crust without overcooking the center. I avoid microwaving for reheats to keep buns from getting soggy and cheese rubbery.
Turkey patties keep 3–4 days in the fridge and 3–4 months in the freezer. I thaw overnight in the fridge and reheat in a 350°F oven until warmed through.
| Item | Storage | Reheat tip |
|---|---|---|
| Raw beef patties | Refrigerate 1–2 days; freeze up to 3 months | Thaw in fridge; cook from chilled for best sear |
| Cooked beef patties | Refrigerate 3–4 days; freeze 2–3 months | Skillet 1 min per side over medium-high |
| Turkey patties (raw) | Refrigerate up to 5 days; freeze 3–4 months | Thaw overnight; oven at 350°F until heated through |
| Condiments & buns | Store separately, 3–7 days in fridge | Assemble just before serving to avoid sogginess |
Food safety note: handle ground meat promptly, keep chilled, and follow safe internal temperatures. When I need to heat add quickly, I use the skillet or oven rather than a microwave to keep texture and flavor intact.
Conclusion
My trials proved a tight routine—hot pan, instant press, and a prompt flip—makes the best, repeatable result.
I keep the technique simple: set a smoking-hot cast-iron or griddle, smash patties immediately, and flip at about 1.5–2 minutes. Add american cheese right away, then rest 1–2 minutes so juices settle.
The core of this recipe is well-seasoned ground beef, restrained salt and garlic powder, and focused toppings: bacon, a smear of sauce, and dill pickles on butter-toasted buns. A touch of mustard brightens every bite.
This burger recipe is reliable for weeknights and gatherings. Pair with a potato side, chips, or slaw, and try sharp cheddar or fried shallots as simple swaps when you want a bolder melt or crunch.
FAQ
What inspired me to try this Doritos BBQ Ranch Smash Burger with Cheddar Flood right away?
I was curious about combining crunchy flavored chips, tangy dressing, and an over-the-top cheese pour on a high-heat smash patty. I wanted to test texture contrasts—crispy edges, soft bun, melty cheese—and see if the flavors married well in every bite.
What does “Cheddar Flood” mean in my kitchen?
For me, a “cheddar flood” means layering hot, fully melted cheddar so it cascades over stacked patties and toppings. It’s about controlled melt—enough cheese for richness without turning the bun into a soggy mess.
Why do I use simple staples like ground beef, salt, and black pepper for the patties?
I keep the patty seasoning minimal so the Maillard crust and fat-driven beef flavor shine through. Salt and black pepper let me control seasoning, and a high-fat grind gives the juiciness that complements the crunchy and tangy elements.
How do I decide between American cheese and sharp cheddar for melt and flavor?
I choose American when I want instant, ultra-creamy melt and a seamless blanket over the patty. I pick sharp cheddar for stronger bite and more pronounced cheddar character, but I plan the “flood” technique to get it evenly melted.
Why include bacon, ranch-style dressing, and dill pickles together?
I like the salty-smoky crunch of bacon, the creamy tang from a ranch-style sauce, and the bright acidity of dill pickles. Together they balance richness, cut through fat, and add textural contrast.
Which buns do I prefer and why—potato or brioche?
I prefer butter-toasted potato or brioche buns for their slight sweetness and structure. They toast nicely on the griddle, resist sogginess, and complement the savory, tangy layers inside.
How important is a ripping-hot surface like cast-iron or a griddle?
Very important. I use a ripping-hot cast-iron or griddle to get a golden-brown crust and crispy edges fast. High heat ensures quick Maillard reaction while keeping the interior juicy.
What’s my prep routine before hitting the hot surface?
I portion beef into loose balls, season them lightly, and have buns buttered and ready. I also stack cheese slices or prepare shredded cheddar for the melt so everything goes quickly when the patties hit the griddle.
How do I toast buns to golden brown without overdoing them?
I spread a thin layer of butter and press buns face-down on the hot griddle for 30–60 seconds until golden. I watch closely—once they reach color I remove them immediately to avoid burning.
What’s my smash technique for the best crust and edges?
I place the beef ball on the hot surface, then press firmly and immediately with a heavy spatula (or double-spatula) to thin the patty. I hold steady for the first 10–15 seconds to lock the sear, then scrape excess fond for crispy bits.
How long do I cook per side and when do I add cheese?
I cook roughly 1–2 minutes per side on high heat. I flip once the edges are deeply browned, then add cheese on the second side during the last 30–45 seconds so it melts fully without overcooking the patty.
How do I assemble to keep the bun from getting soggy?
I add a thin layer of sauce (ranch-first), then stack the patty, bacon, pickles, and cheese flood. Toasted buns and a measured sauce amount help keep the sandwich tidy and prevent sogginess.
What’s the safest way I execute a cheddar flood without a huge mess?
I pile thin sliced or grated cheddar on the hot patty, cover briefly with a dome or lid to melt, and then spoon the molten cheese where I want it. That gives control and cuts clean-up compared to pouring hot cheese from a pot.
What swaps and variations did I test that work well?
I swapped bacon for crispy fried shallots for a pork-free crunch and used blue cheese dressing in place of ranch for bolder tang. I also tried a turkey smash for a lighter option—adjusting timing and moisture to keep it juicy.
What pro tips do I rely on to nail the smash every time?
Use a high-fat grind, keep patties loose before smashing, employ a double-spatula for a firm press, and rest patties 1–2 minutes after cooking so juices redistribute. Also, keep the griddle hot and work fast.
What sides and pairings do I recommend?
I pair the sandwich with kettle chips, a wedge salad, potato salad, or slaw. For add-ons I like extra dill pickles, mustard, caramelized onions, or jalapeños for heat and balance.
How do I store and reheat leftovers to preserve texture?
I refrigerate patties and components separately in airtight containers. To reheat, I use a skillet over medium heat to revive crust and melt cheese quickly; avoid microwaving stacked sandwiches to prevent sogginess.
What approximate macros should I expect and what affects them most?
Macros vary by patty size, cheese amount, and bacon. The biggest factors are meat fat percentage and added cheeses or sauces. Reducing cheese or using leaner beef lowers calories and fat significantly.
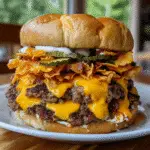
My Experience with Doritos BBQ Ranch Smash Burger with Cheddar Flood Review
- Total Time: 18
- Yield: 4 1x
Description
Ultimate smash burger with cheddar flood featuring crispy beef patties, melted American cheese, bacon, and tangy dill pickles on butter-toasted buns. High-heat technique creates perfect crust and juicy interior.
Ingredients
1 lb ground beef (80/20 blend)
1/2 tsp kosher salt
1/4 tsp freshly ground black pepper
8 slices American cheese
4 strips bacon
4 dill pickle slices
2 tbsp ranch dressing
4 potato or brioche hamburger buns
2 tbsp unsalted butter
Instructions
1. Heat cast-iron skillet or griddle over high heat until smoking
2. Cook bacon strips until crispy, set aside
3. Portion ground beef into four 4-oz balls, season with salt and pepper
4. Butter and toast bun halves until golden brown, about 30-45 seconds per side
5. Place beef balls on hot surface and immediately smash to 1/4 inch thickness
6. Cook undisturbed for 1.5-2 minutes until deep brown crust forms
7. Flip patties and immediately top with American cheese slices
8. Cook 1 more minute until cheese melts completely
9. Spread ranch dressing on bottom buns
10. Stack cheese-topped patty, add second patty, bacon, and pickles
11. Cap with top bun and rest 1-2 minutes before serving
Notes
Use high-fat ground beef (80/20) for best flavor and juiciness
Don’t press patties after initial smash – let crust develop naturally
Cast-iron or heavy griddle essential for proper sear
Rest assembled burgers briefly to redistribute juices
Cook in batches if necessary to maintain high heat
- Prep Time: 10
- Cook Time: 8
- Category: Main Course
- Method: Pan-Fried
- Cuisine: American
Nutrition
- Serving Size: 1
- Calories: 664
- Sugar: 3
- Sodium: 1250
- Fat: 44
- Saturated Fat: 18
- Unsaturated Fat: 22
- Trans Fat: 1
- Carbohydrates: 19
- Fiber: 2
- Protein: 44
- Cholesterol: 125

